In order to exchange data in companies, various file shares are repeatedly created by IT and published for the users.
In the following article, we explain how to create file shares, provide information on the special features that need to be taken into account, and give various tips for managing file shares.
Initial Situation
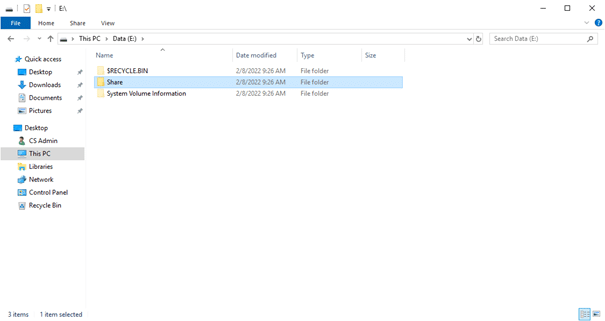
A new file share is to be created on a new volume, which is to be used for different users. For this we create a folder “Share” in the root directory of the new volume.

In the NTFS file system, the NTFS permissions of the volume are propagated to the newly created folder. At this point, the folder is not yet shared and therefore has no share permissions.

NOTE: The initial NTFS permissions should be adjusted before sharing the folder and should not be left in their initial state. In addition, it is strongly recommended to break inheritance on the folder to be shared (especially if the folder is to be published to a DFS namespace later).

Adjustment of NTFS Permissions
Before the folder is now shared and linked in a DFS namespace, the NTFS permissions should be cleaned up. To do this, break the inheritance and make sure that the BUILT-IN object “CREATOR-OWNER” is removed. In addition, it should be noted that the permission for the “user” object does not apply to all folders, subfolders and files. This ensures that users can only access the new file share for the time being and do not unintentionally receive permissions on various subfolders. Furthermore, the group of “Authenticated Users” should be used instead of the “User” object.

Once the NTFS permissions have been adjusted and corrected, the folder can be shared and the file share created.
Create File Shares and set up Share Permissions
On Windows servers, file shares can be created in several ways. As a rule, most administrators use the Windows Explorer to create file shares directly.
Creation via Windows Explorer
To create the share via Windows Explorer, go to the folder’s settings.

Check the ” share this folder” box and assign a share name.
NOTE: For security reasons, a "$" character should be appended to the end of the share name. This creates the share hidden and not easily visible to every user.

Subsequently, the share permissions have to be assigned. Therefore it is recommended to assign the “full access” permission for administrators and the “change” permission for users at the share level. In any case, the standard object “Everyone” should not be allowed in the share permissions!

If you want to make sure that users only see the folders and subfolders they have permissions on in the file share, you need to enable the access-based enumeration (ABE) feature. The option to enable ABE can be found in the Server Manager (“File and Storage Services” – “Shares”).

Are you looking for professional advice?
Do you need support in optimizing your file servers? Feel free to contact us!

Creation via PowerShell
To create the share via PowerShell, the folder must already exist. Also the NTFS permissions should be adjusted initially (see “Creation via Windows Explorer”).
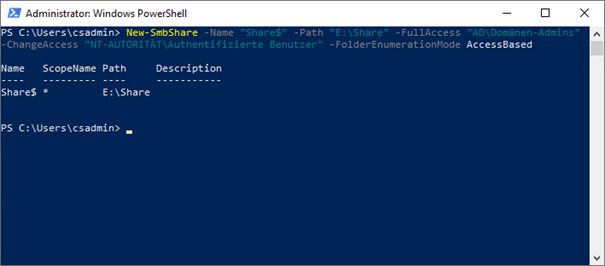
Then start a PowerShell session and issue the following command:
New-SmbShare -Name “Share$” -Path “E:\Share” -FullAccess “AD\Domain Admins” -ChangeAccess “NT AUTHORITY Authenticated Users” -FolderEnumerationMode AccessBased

This shared the previously created folder, the sharing permissions were assigned and the setting for ABE was also enabled.
There are further setting options via the PowerShell. So it is possible to make the share in a volume of a failover cluster failsafe. To do this, simply append the switch “-ContinuouslyAvailable $true” to the above command (note that this switch only works on a cluster volume). Another useful switch is “-EncryptData $true” which enables SMB encryption.
Especially if you need to create multiple file shares, the way via PowerShell is recommended.
Tips for Creating File Shares
When creating file shares, keep the following tips in mind to avoid security vulnerabilities:
- Use short names for the share
- Create the share hidden by appending a “$” sign to the name
- Do not use the “Everyone” object in the share permissions under any circumstances
- Enable “access based enumeration” to hide non-permissioned folders for users
- Use PowerShell to create multiple file shares to keep the time required to create them to a minimum


